


Like so many of you, I love decorating my house for fall. To get the most mileage out of my decor, I tend to prefer things that don’t scream Halloween or Thanksgiving. I may add a few “BOO” touches or pilgrims and turkeys later, but for the most part, the house is just made over in a fall color palette.

Today I’m sharing one of my favorite DIYs. I’ve been crafting up my pumpkins this way since B.P. (You know: Before Pinterest. Such carefree days, those were.) This one is easy and quick. You don’t need some fancy vinyl crafting machine. All you need are some simple materials that most likely you already have sitting in your home.
I timed myself executing the craft, and it was 20 minutes. That included stops for photos along the way, and at least one child on my leg for 5 minutes. (Dad was home and playing with them. But you know how it is, Mom.)
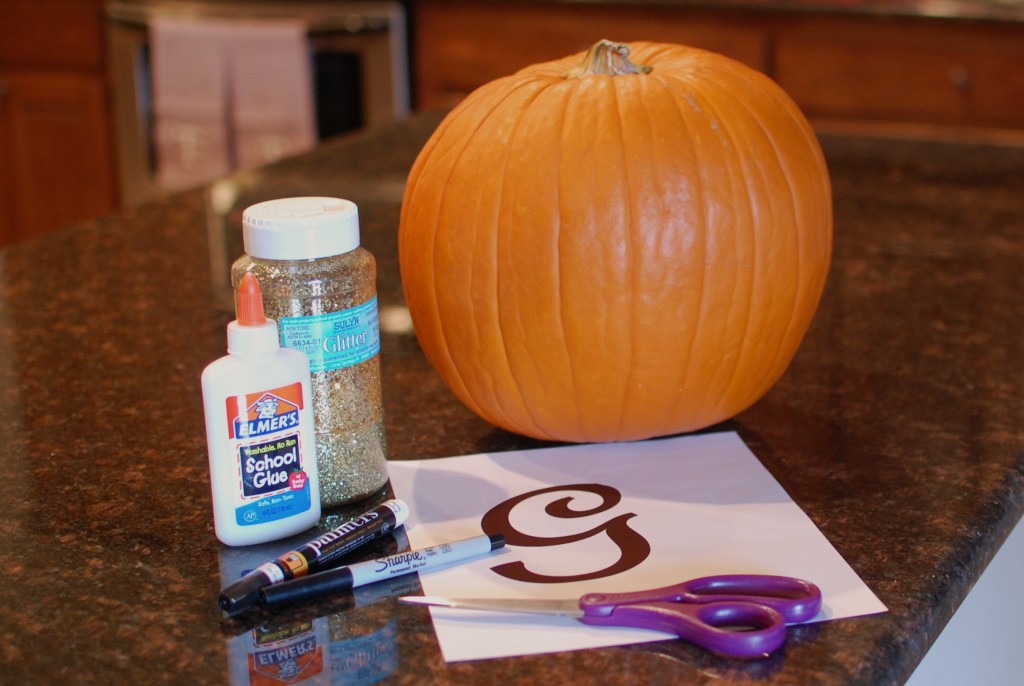
Supplies:
- pumpkin (I have the hardest time finding one I like every year)
- permanent marker (Sharpie)
- paint pen in your desired color
- print of your selected initial (mine was 600 pt. French Script)
- scissors
- tape
- glitter (optional)
- glue (optional)
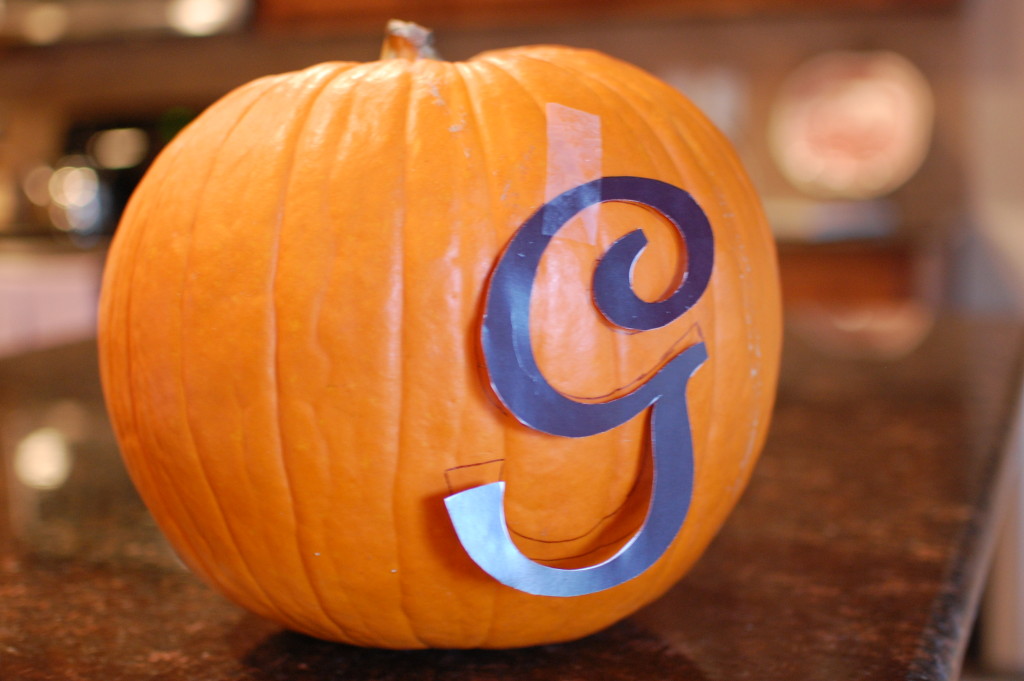
First, cut out your initial, and center it on the best side of your pumpkin. Next, take your Sharpie and trace around it. When you pull the tape off, just connect your lines the best you can. Now go back and color it in with your paint pen. If you don’t have a paint pen, just color it in with your Sharpie.
If you’re feeling super fancy and/or up to cleaning glitter off your floor until it’s time to throw out that pumpkin in favor of a Christmas tree, go back over it with some glue and then glitter. I trust that you’ve done enough glitter projects in your life to make this decision with all care and concern.
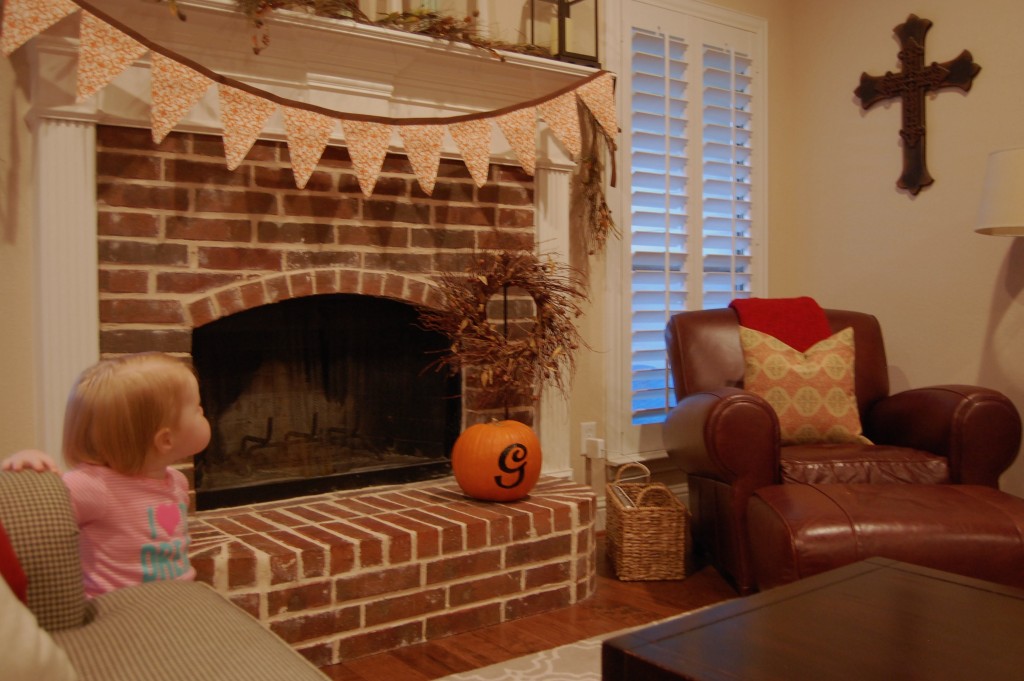
Here it is in context with my little helper. I think this project would look beautiful with a white pumpkin and gold paint pen. Happy crafting!


